How To Install The Hello Elementor WordPress Theme
This guide will walk you through the steps necessary to make a website with WordPress.
Once you install WordPress on your website, you can use WordPress to easily make your website.
Table of Contents
Log In To Your WordPress Dashboard
To install WordPress themes using the WordPress themes directory, you have to first log in to your WordPress dashboard, then go Appearance > Themes.
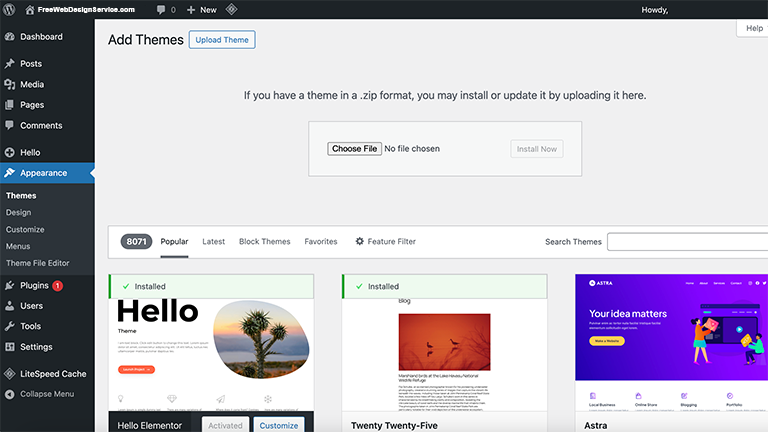
Once you have logged in and are in your WordPress dashboard, go to Appearance > Themes. This will take you to the WordPress themes directory page. You will have a few themes to choose from.
Click on the “Add Theme” button. You will have a much wider selection of themes to choose from when you click on the button. You can scroll or search for a theme that you want or would like.
Once you find the theme that you like, simply hover over the thumbnail of the theme and click on the “Install” button, and then click on the “Activate” button.
You can also upload a theme. To do this click on the “Upload Theme” button, then click on the “Choose File” button.
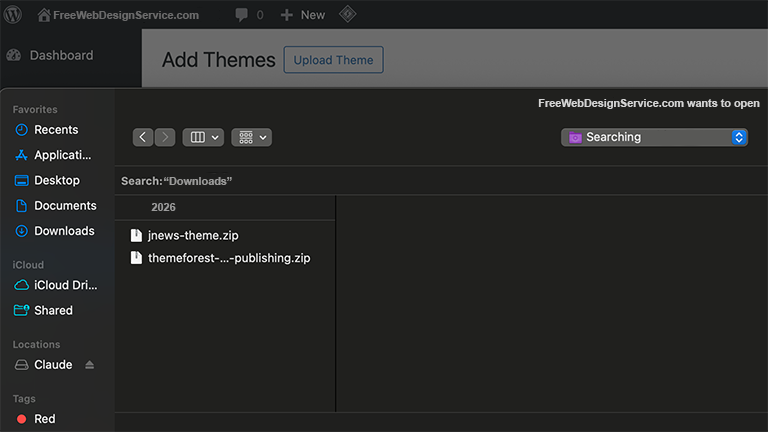
Select the WordPress theme’s ZIP file and then click on the “Open” button.
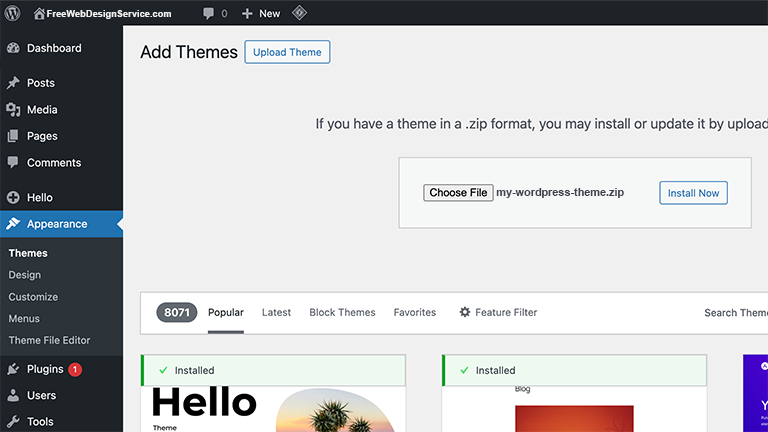
Once you have selected the WordPress theme to upload, you will see the ZIP file to the right of the “Choose File” button. Now click on the “Install Now” button whenever you are ready to install the theme.
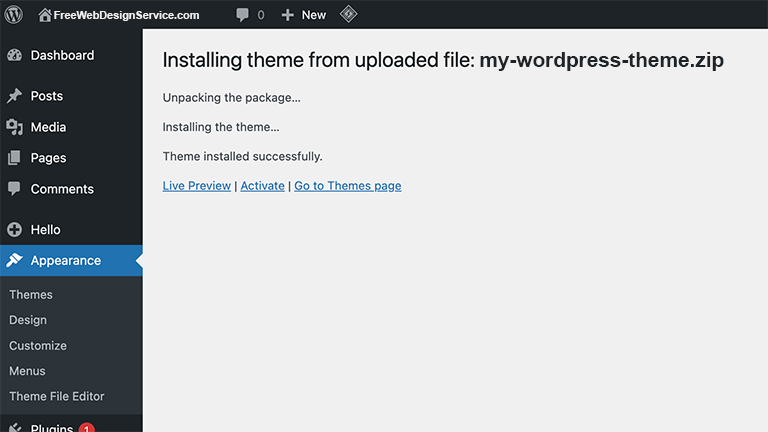
You should now see a page that tells you that your WordPress theme has been successfully installed.
Now click on the “Activate” button to activate your WordPress theme.
You can now install any required plugins and import demo content to have a starting point in building and designing your web pages.
If you would like us to design your website for you, or you have any questions, feel to contact us.
We will build and design a website for you for free.